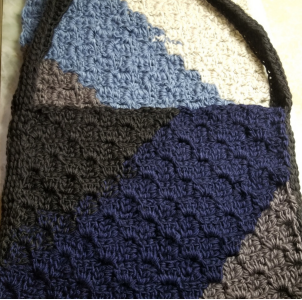
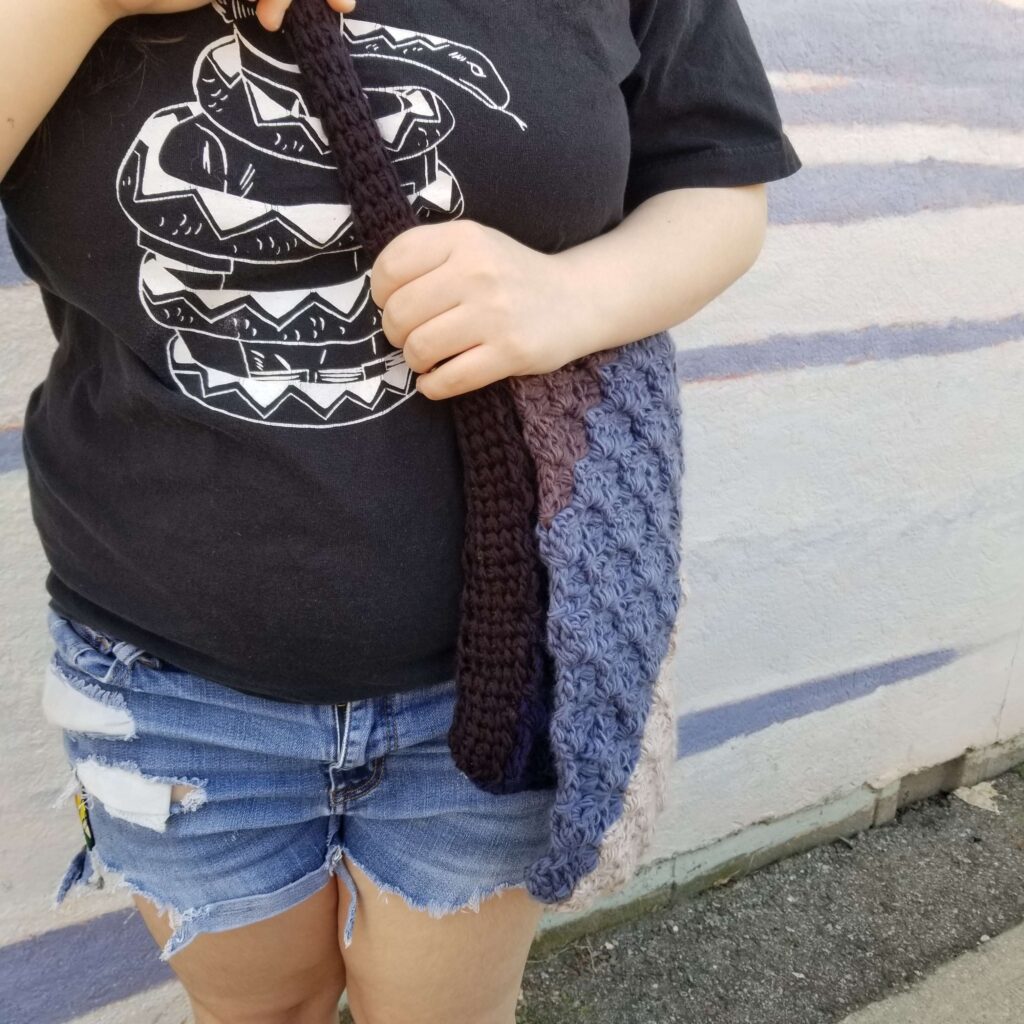
An addicting corner to corner style crochet messenger bag, featuring a folded over closure and a cross body strap.
Named after our favourite fall family, the Gilmores, this messenger bag is crocheted using the corner to corner technique in a faded colour changing yarn. It is worked flat in two pieces; the large rectangle that makes up the bag itself, and the strap that is later attached to each side and also serves as the strap. Photos are included.
Craft: Crochet
Difficulty: Intermediate
Materials: Lion Brand Mandala Roving, tapestry needle
Techniques: Corner to corner crochet
Gauge: Not important for this pattern. Adjust hook size to achieve desired size if necessary.
Hook Size: 6mm
Sizes: One size.
Finished Measurements: 13.5” / 34cm wide x 13.5” / 34cm long. Strap is adjustable.
Yardage: 400 – 415 y / 366 – 379 m
Includes: written instructions, videos
Also available on: 🧶Ravelry
Elevate your inbox: Access freebies and top-notch tutorials first!
Abbreviations:
ch – chain
st – stitch
sl st – slip stitch
sp – space
dc – double crochet
rep – repeat
Chain 3 at beginning of rows counts as a dc.
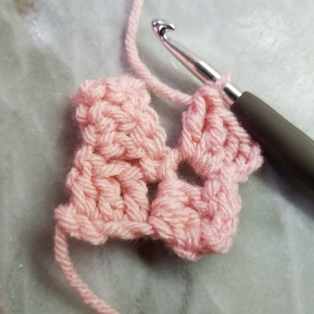
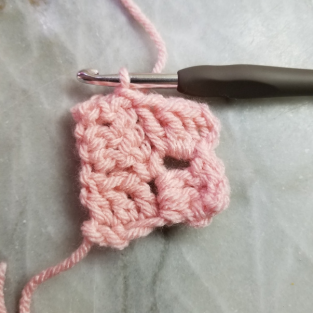
Corner to corner crochet does not work one standard row at a time, the project is built from a single square outward with diagonal rows, and then decreases down to a single square at the far corner. See video for simple visual (and audio) guide.
Begin Pattern:
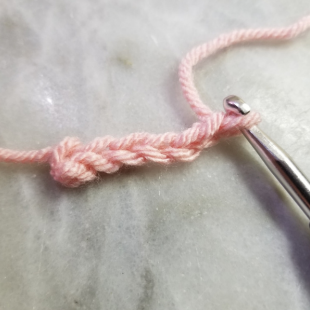
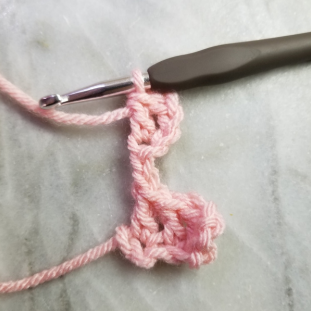
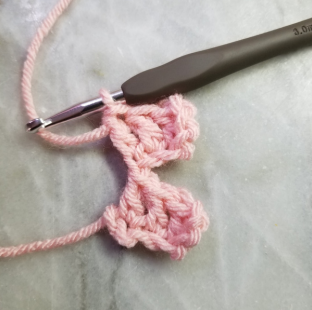
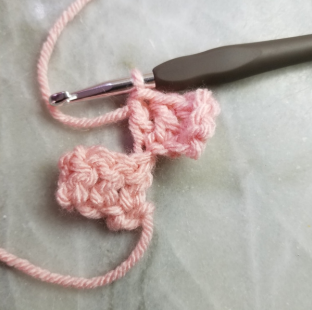
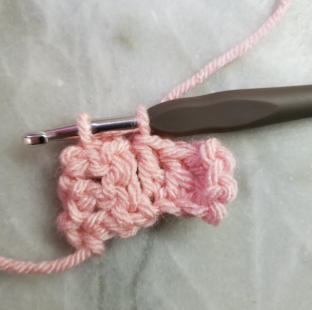
Please refer to the linked video or included photos if this is your first time doing c2c.
Step 1: The Bag
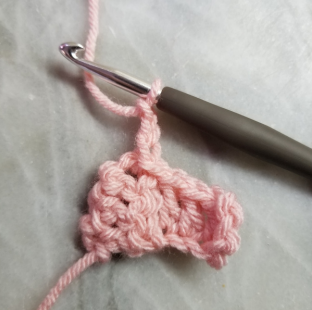
Ch 6.
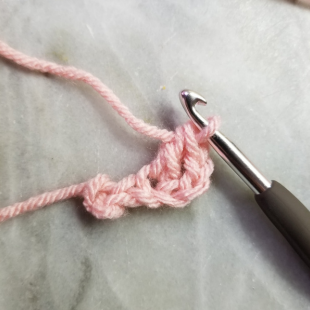
Row 1: dc in the 4th st from hook, and next 2 ch. Turn.
Row 2: Ch 6, dc in 4th ch from hook and next 2 ch. Sl st in ch-3 sp from last square (to bring the two squares together). Ch 3, 3 dc in same sp as sl st, turn.
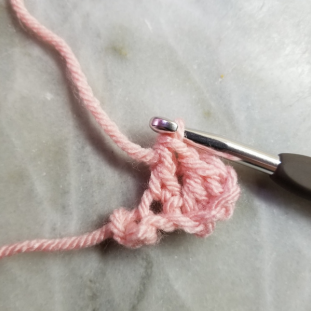
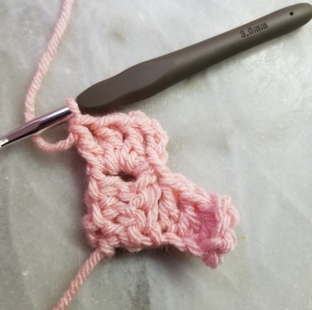
Row 3: ch 6, dc in 4th ch from hook and next 2 ch. Sl st in next ch-3 sp (to bring the two squares together). Ch 3, 3 dc in same sp as sl st. Rep to end of row. Turn.
Rep row 3 across all blocks, turn at end of row.
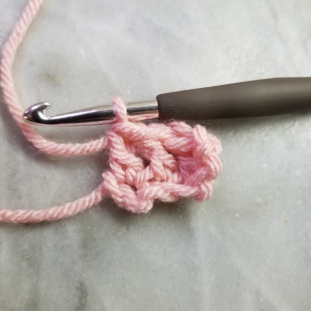
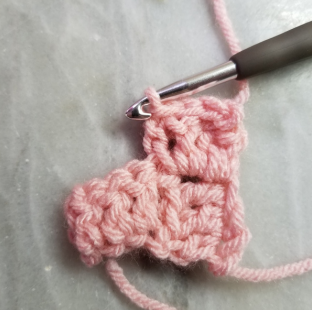
Continue repeating row 3 until 14 squares wide (or wide as desired).
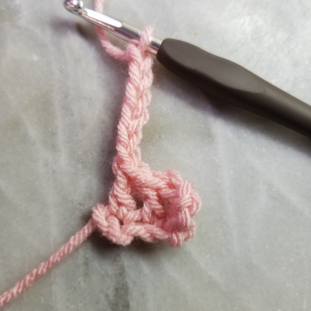
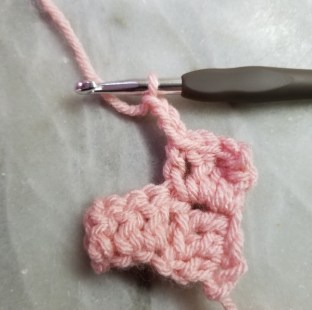
Next row: sl 3 sts to end of square. Ch 3, 3 dc in ch-3 sp. Sl st in next ch-3 sp (to bring the two squares together). Ch 3, 3 dc in same sp as sl st. Rep to desired square.
Rep previous row until desired length.
Weave in ends
Step by Step C2C
Step 2: The Strap
Begin strap:
This strap is made in a very simple Tunisian crochet stitch. Please refer to linked video or included photos if this is your first time.
Ch. 6
Set up row: Insert your hook into second ch from hook. YO, pull the loop through, leave on hook. Rep with all ch in row. (do not turn work).
Return Row: (YO, pull through two loops), rep until 1 st on hook.
Next row (forward pass): Insert hook under front of vertical bar, YO, pull loop. Rep to last bar.
Next row (return row): (YO, pull through two loops), rep until 1 loop on hook.
Rep both rows until strap is as long as desired.
Finishing:
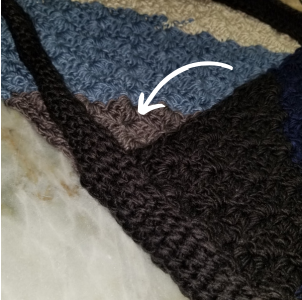
Sew strap to bag on each side to create the sides and strap of the bag (see image below).
Weave in all ends.
Attach lining if desired.